

- A webhook automation files an issue for each signed alert from Sentry, PagerDuty or another service. See Webhook automations.
- A schedule automation reads a repository at set times and files an issue for each thing it finds. See Schedule automations.
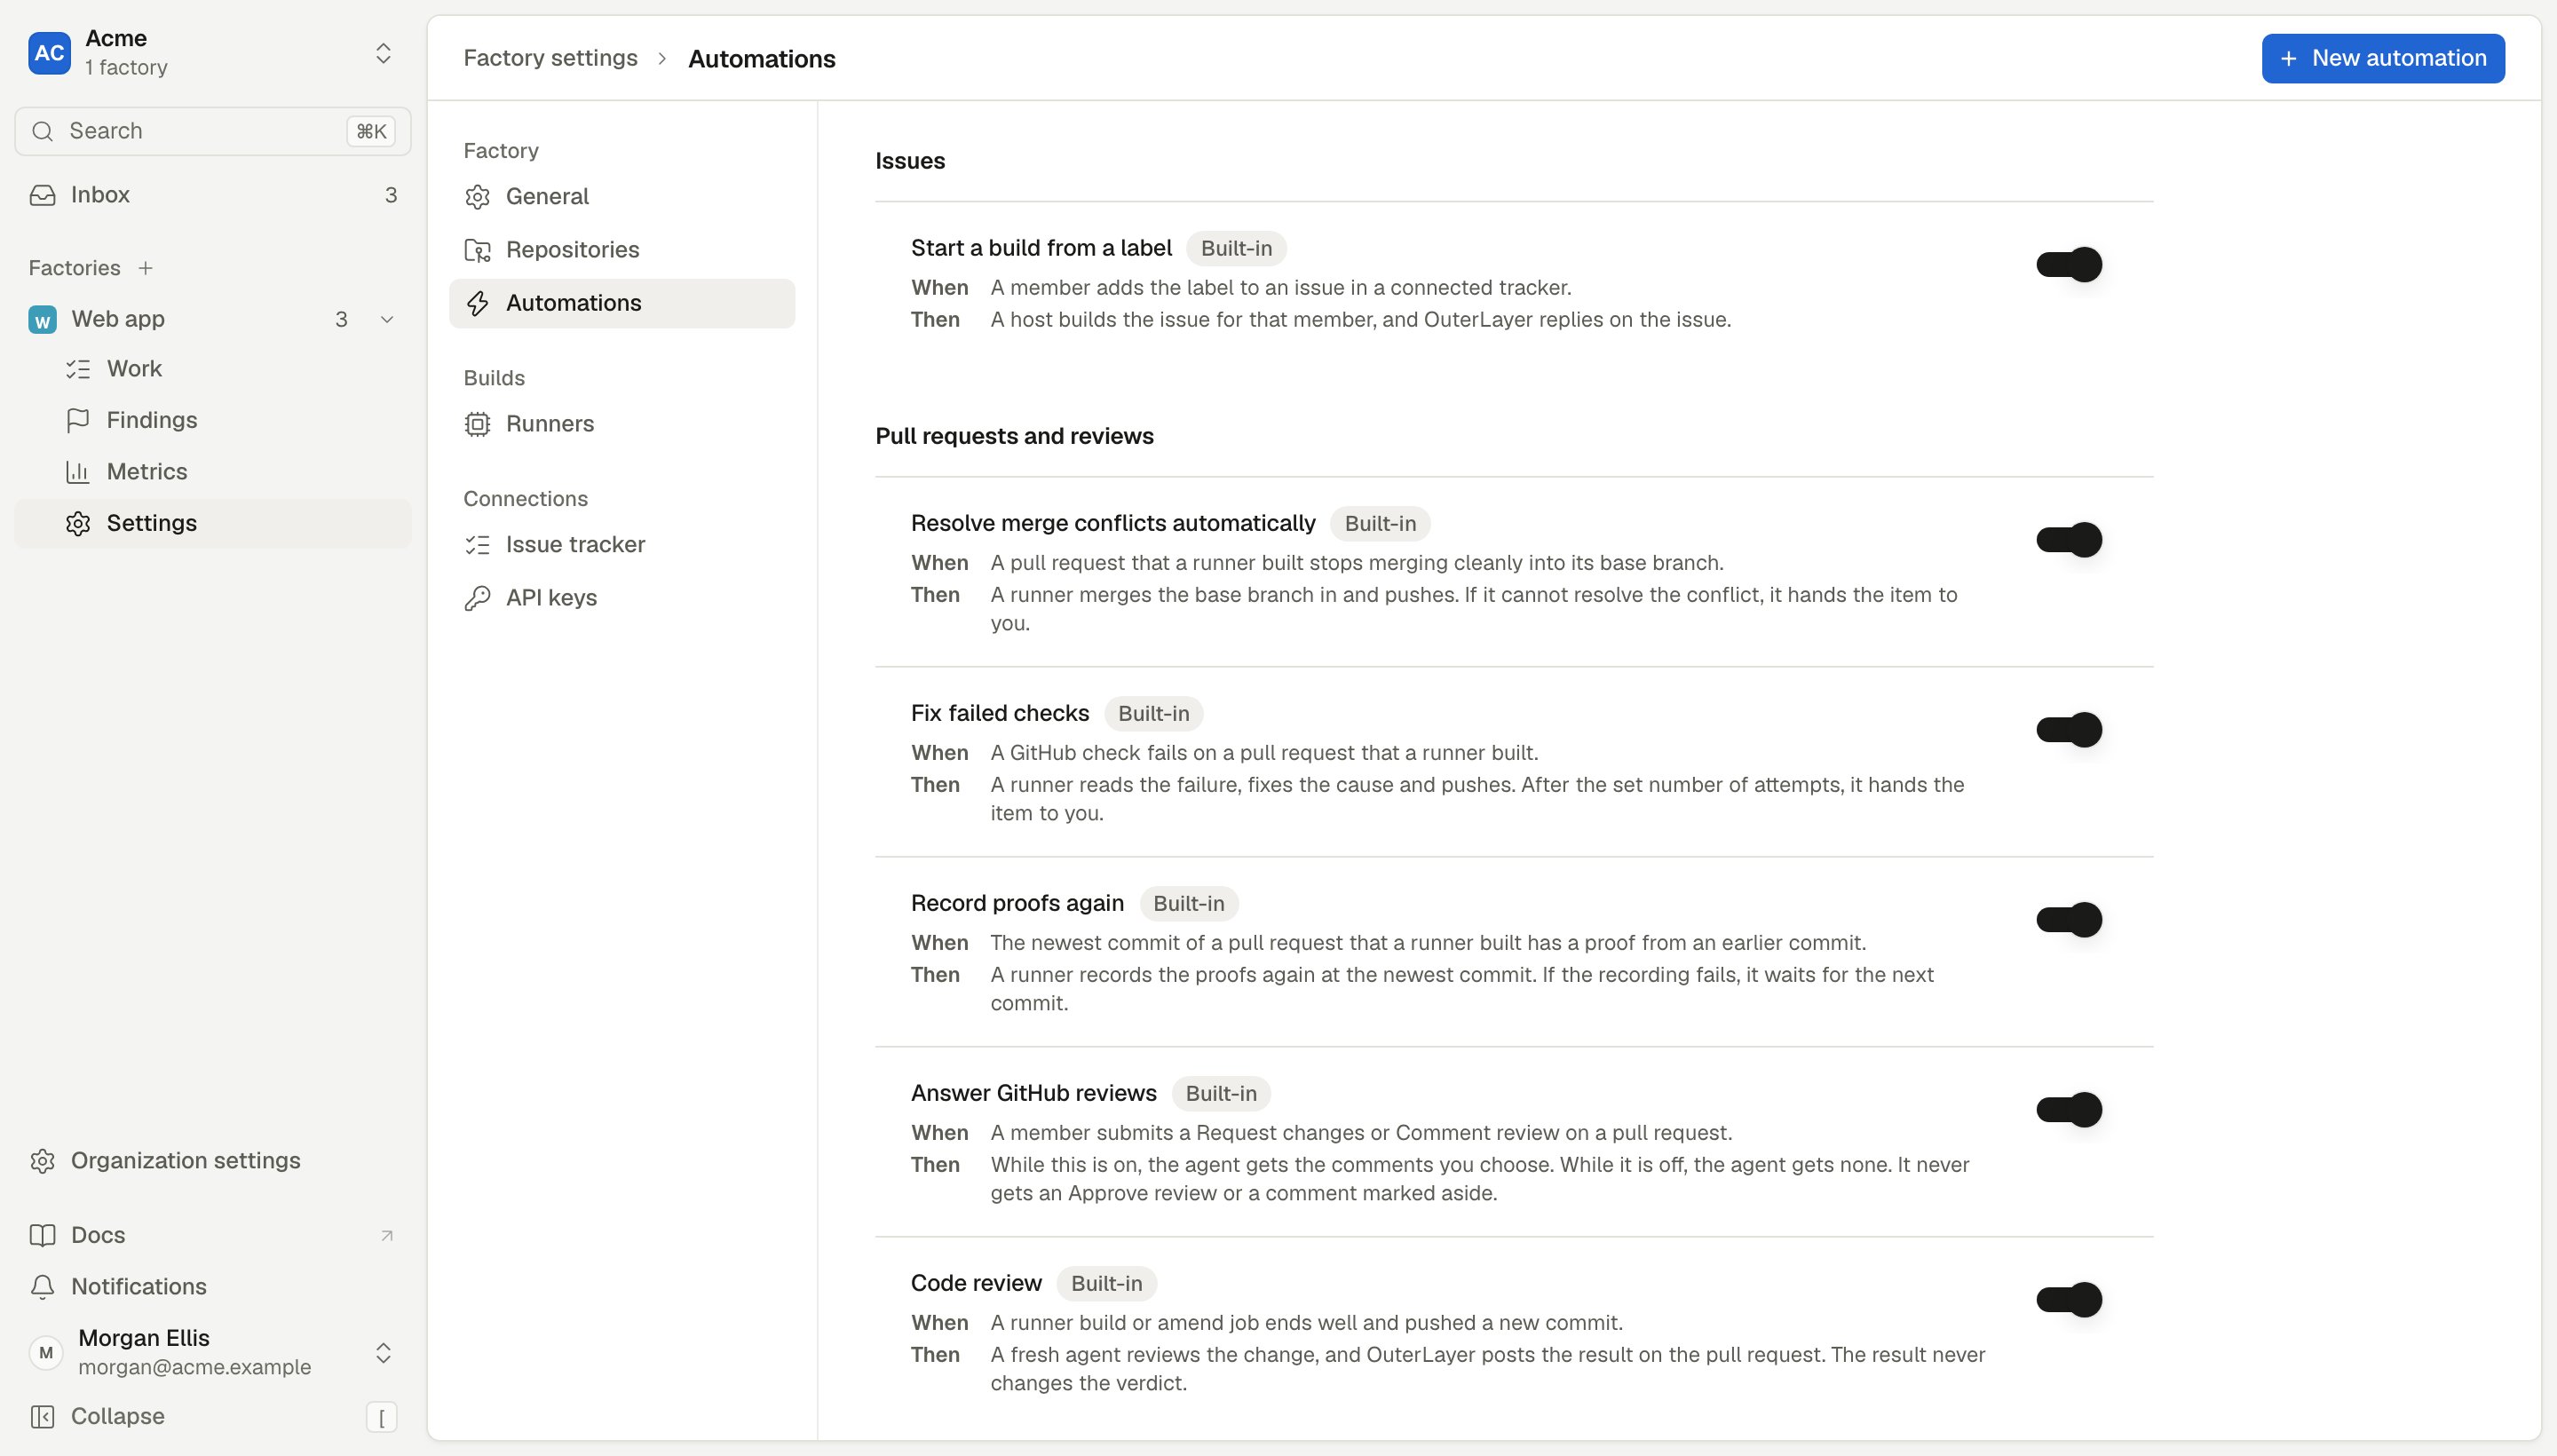
Settings, then Automations: the built-in automations and their switches.
Built-in automations
Each built-in automation is on until you turn it off.
To change a built-in automation, you need the Edit factory settings permission.
- Choose the automation’s name to open its page.
- Use the switch to turn the automation on or off.
- To change an option, choose Edit, change it and choose Save.
When a pull request conflicts with its base branch
A pull request stops merging cleanly when another merge into its base branch changes the same lines. The Activity section then shows Conflicts with and the base branch. The conflict ends when anyone pushes to the pull request’s branch. For a pull request that a runner built, a runner resolves the conflict with no request from you. It merges the base branch into the pull request’s branch, runs the repository’s pre-push checks and pushes. It never rebases and never force-pushes. A pull request that a person opened from their own session shows its conflict and starts no agent job. A pull request that is behind its base branch and still merges cleanly starts none either. When the runner cannot resolve a conflict, it pushes nothing. Its comment on the item names the conflicting files and the decision it needs from you. Answer with Request changes. Your answer is the instruction for the next agent job. The automation is Resolve merge conflicts automatically. It is on by default. To turn it off, open Settings, then Automations, on the factory and use its switch. With it off, conflicts still show, and you ask for a resolution with Ask the agent to resolve or Request changes.When a GitHub check fails
A GitHub check can fail on a commit that a runner pushed. The failed check then shows in the item’s sidebar. For a pull request that a runner built, a runner fixes the failed check with no request from you. It starts when no check on the commit is still running. It reads the failure, fixes the cause, runs the repository’s pre-push checks and pushes. If a check fails again, it tries again. The runner acts only on a commit that the factory pushed. A commit that a person pushed starts no agent job. A pull request that a person opened from their own session starts none either. When a check also fails on the base branch, or fails for a reason outside the code, the runner changes nothing. It names the check and asks you for a decision. Answer with Request changes. The automation is Fix failed checks. It is on by default. Its Attempts option sets how many times the runner tries: 1, 3 or 5. The default is 3.- Open Settings, then Automations, on the factory.
- To turn the automation on or off, use the switch beside Fix failed checks.
- To change Attempts, choose Fix failed checks, then Edit, then Save.
Why an issue from outside the team waits
The agent that runs a build reads the issue’s text, and the agent holds repository tokens. Text from someone outside your team can try to steer that agent. The checks look at a build only after it ends. So an automation never builds an issue from someone outside the team. It adds the issue to the Work page as Not started. A member reads the issue and then chooses Build on the item’s page. See Build an item that is not started.Add an automation for issues
An automation for issues adds each matching issue to the Work page. It starts a build when a member of your team opened the issue or added the label. You need the Edit factory settings permission. The factory needs a connected repository, Linear team or Jira project. See Connect a repository and Connect an issue tracker.- Open Settings, then Automations.
- Choose New automation, then choose Issues.
- Enter a name.
- Under When, choose An issue is opened or A label is added.
- Enter the labels. See Choose what starts the automation.
- Under In, choose a repository, Linear team or Jira project.
- Under Whose issues, choose Members only or Anyone. See Choose whose issues build.
- Enter Instructions for each build, if you want any. They hold up to 2,000 characters.
- Set the Daily limit: the most builds the automation requests in 24 hours. The default is 5, and you can set 1 to 100.
- Choose Save.
Choose what starts the automation
A label has 1 to 50 characters and can hold spaces, such as
good first issue. Case does not matter. A Jira label cannot hold a space, so a label with a space never matches a Jira issue.
No automation acts on an issue that OuterLayer opened, such as a filed spec or an issue from a webhook or schedule automation. This stops one filed issue from starting a build that files another.
Choose whose issues build
OuterLayer matches the person who opened the issue, or added the label, to a member of your team:- GitHub: the GitHub account must be the one the member signed in to OuterLayer with.
- Linear and Jira: the email on the tracker account must equal the member’s sign-in email. In Jira, the profile must show the email.
The Activity section of the work item says which automation requested the build, for which member, with the instructions.
Read the run log
Each automation has a run log, except Record proofs again. The log says what the automation did each time it ran, and why. Open Settings, then Automations, then choose the automation. The run log is under its settings, newest first. OuterLayer keeps each row for 90 days. An automation that is off writes no row. For an automation for issues, each row names the issue and the person who opened it or added the label. The Why column gives the reason for the result:
When two automations match one issue, they run in the order you added them. The first requests a build. The second logs Skipped, because a build is already queued.
The run log of a webhook automation or a schedule automation has its own results.
Read the run log of a built-in automation
The run log of Start a build from a label lists issues. A label that starts no build also gets a row, with the reason. The other run logs list pull requests. Each row links to the pull request’s work item and gives a result:- Built: the automation started a build to resolve a conflict or fix a failed check.
- Sent: comments of a GitHub review went to the agent.
- Reviewed: a code review ran. The row gives the commit and the number of problems.
- Skipped or Failed: the automation did not act. The Why column says why.
Notices about an automation
OuterLayer tells a member when an automation that a member added needs attention. A notice shows in the Inbox and goes out by email. A built-in automation sends no notice.Who gets the notices
OuterLayer records the member who adds an automation. That member is the automation’s creator. The creator gets its notices while the creator is an active member who has the Edit factory settings permission. In any other case, the factory’s owners and admins get the notices. This happens when the automation has no creator, when the creator left the organization, and when the creator cannot edit the factory’s settings. The automation’s page says who gets its notices. When a member saves an automation that has no creator, that member becomes its creator. A save by another member never changes the creator.The three states
An automation needs attention in one of three states. It is in one state at a time.
When an automation is both waiting and failing, it shows as Failing.
Each state is one row in the Automations group of the Inbox. The row names the automation and its factory, and gives one sentence. Choose the row to open the automation’s page. A row has no dismiss control. It leaves the Inbox when the state ends. The sidebar’s count for the Inbox includes these rows.
A state ends in these cases:
- Waiting ends when a runner takes the run.
- Failing ends when a run succeeds, or when a member saves the automation.
- Switched off ends when a member switches the automation on, or chooses Keep it off.
The three emails
OuterLayer sends each email once for each event. It does not repeat an email.
Each email names the automation, gives the reason and links to the automation’s page.
A webhook automation or an automation for issues can fail. It gets the Failed notice, and it shows as Failing. OuterLayer never switches either kind off.
To end a switch-off, see Notices and the switch-off after repeated failures.
Change, switch off or delete an automation
You need the Edit factory settings permission. Without it, you can read the automation and its run log.- Choose the automation to open its page.
- Use the switch to turn the automation on or off.
- To change the automation, choose Edit.
- To delete the automation and its run log, choose Delete and confirm.